

May 2019 Newsletter
Submitted by RonHanson on Wed, 05/15/2019 - 08:39
May 2019
Sterling Home Services Newsletter
It’s time for the May issue of the Sterling Home Services Newsletter. This month we have five tips for sellers to accentuate the positive aspects of the home they are selling. Nearly every home has a garbage disposal but do you know the ins and outs of using and maintaining the garbage disposal? We’re including a comprehensive list of do’s and don’ts. Finally, as you prepare for summer lawn maintenance your underground sprinkler systems may need some attention. Read through our Sprinklers 101 article. 
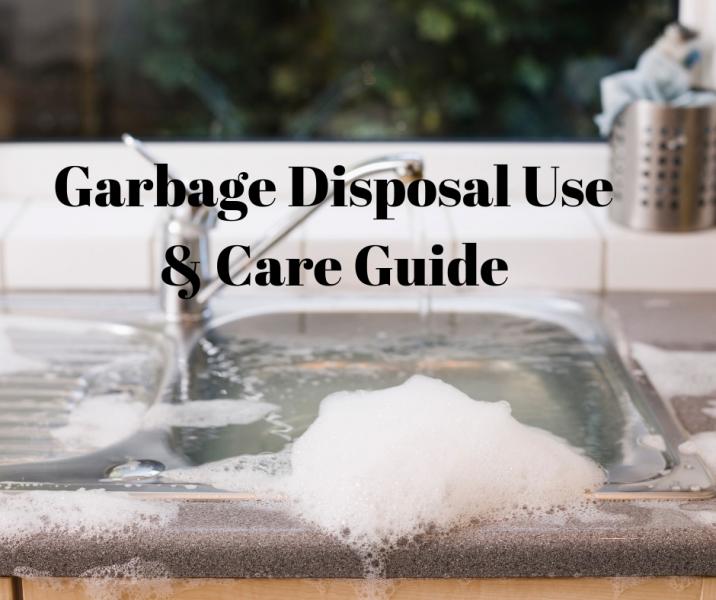
Garbage Disposal Do’s and Don’ts
Having a garbage disposal is a modern day convenience. It makes dishwashing and keeps the kitchen clean easier and more efficient. Everyone has their own feelings about garbage disposals. Some homeowners are afraid of those spinning blades and refuse to get one or use the one they have while others think they’re magical disintegration devices and throw everything but bricks down the drain. Here are a few guidelines for using and caring for your garbage disposal.
Garbage Disposal Do’s
- Keep it clean by pouring dish soap in the disposal and letting the cold water run with the disposal running for 60 seconds.
- Run the disposal regularly to prevent rust and corrosion and to keep the parts free moving.
- Operate the disposal with a strong flow of cold water. Cold water allows grease and oil to solidify and be carried completely out of your plumbing system.
- Occasionally grind hard materials like small chicken and fish bones, egg shells, and fruit pits. These hard materials help clean the garbage disposal’s wall.
- Make sure items that go down the disposal are small in size. Cut up large chunks into smaller pieces.
Garbage Disposal Don’ts
- Grind anything that is not biodegradable - no plastic, metal, or paper.
- Grind anything combustible.
- Grind cigarette butts.
-
Pour grease, oil, or fat in the disposal or down the drain. Grease will cause clogs and will impede the disposal’s grinding ability.
- Use hot water with the disposal. Hot water causes fats to liquefy and accumulate and eventually clog the drains.
- Grind fibrous materials like celery, onion skins, or corn husks. The fibers from these kinds of items can tangle and cause a jam in the blades.
- Turn off the water while the disposal is running. Always turn off the disposal first and let the water run a bit longer to rinse away particles.
- Grind large amounts of potato peels. Potato peels when ground up can form a thick, pasty mess and clog up the drain.
- Stuff the disposal with large amounts. Feed the disposal small amounts of food at a time to avoid overwhelming the motor and the drains.
- Clean the disposal with bleach or drain cleaners. These chemicals can damage the blades. To take care of odors use Borax or baking soda in the drain.
Garbage disposals are strong grinding devices with fast-spinning
blades. Never reach down into the drain while it’s running. If you ever need to reach in to retrieve an object or clear an obstruction first unplug the unit, and remember to use gloves to protect your hands from the blades.
Accentuate the Positive
You may see big flaws in your house, but that’s not what your buyers will see.
Have you been thinking about listing your home for sale, but you’re afraid its flaws will turn all the buyers away? You’re probably wrong. And it’s not the flaws turning away the buyers, it’s your fears and your hang-up with the negative. Here are five tips for making sure you accentuate the positives of the house you’re selling!
1. Know the Best Parts
A huge attached garage, a fully finished basement, exceptional outdoor space, upgraded new appliances in the kitchen - these may be some of the best features of your home. Whatever the best parts are, make sure you lead with the positives, always. When you are trying to advertise something you never say something like: It’s a great product, but…” Leave out the “buts” until you are asked about them or get into a dialogue with a serious buyer.
2. Dress to Impress
While your home is listed, make sure it looks amazing from the outside. Improve the curb appeal in every way possible to invite prospects into the home. Keep the toys picked up, the cars in the garage, the grass cut, the shrubs trimmed. Wipe away cobwebs from the porch and entryway. Consider sprucing up the front door and shutters with a fresh coat of paint. Having your house power washed is a low-cost alternative to repainting the exterior and can make a home look brand new.
3. Accentuate the Positive in Every Room
Find the best feature of each room and create visual displays to highlight that feature. For instance, a small den makes an exceptional private home office. Furnish the small room sparsely but efficiently with home office equipment. High ceilings can be accentuated with tall vertical artwork. Angling furniture toward an amazing hearth can draw attention to the beautiful fireplace in that room.
4. Know What it Will Take
If there are major flaws in your home, get estimates ahead of time so you can talk with prospects about what it will take to remedy the situation. For example, an aging roof, new carpet, replacing the deck. When you hear buyers complain about these issues you will have answers and solutions that can help bring you closer to a deal.
5. Keep a Bonus in Your Back Pocket
An unexpected bonus can often sweeten the deal enough to close a sale. Everybody loves a “gift with purchase” and you may consider adding a fun bonus. Some ideas are a full summer of lawn care service and/or winter of snow removal, a gift card to a local furniture store, or partially stocking the bar or wine fridge.
Buyers are well aware that no house is perfect, and the flaws that you see as deal-breakers may be insignificant to everyone else. Remember to talk up the good qualities and you’ll find the right buyer sooner rather than later.
Sprinklers 101
Most sprinkler/lawn irrigation systems are pretty low maintenance. There are several things you can do the keep them in good repair and to make sure you're not wasting water and money! When you open your sprinklers for the summer, take the time to run a thorough check of your system for the best lawn coverage and most efficient operation. Here are a few tips and guidelines.
Run the entire system one zone at a time and check for broken heads, clogged nozzles, leaks, poor uneven coverage, and stuck valves.
Broken Heads
Sometimes broken by lawnmowers, snow shovels or old age, a broken sprinkler head is an easy fix. Simply dig out the sprinkler head with a trowel (be careful and don't pry as this could damage the connections) unscrew the stem from the canister and replace the stem. You can take the old stem to your sprinkler parts supplier to make sure you get the right make and model.
Clogged Nozzles
Another easy DIY repair. You'll know when a nozzle is clogged if the spray is uneven or otherwise hindered. Clear out the debris clogging the nozzle. It may be necessary to dig out the sprinkler head and clean it with a brush. It may also be necessary to raise the head a little to prevent future clogging. Sprinkler heads should sit approximately 1/2" above the ground. Any lower and it will clog with dirt and grass, any higher and it may get whacked by the lawnmower.
Leaks
Poor water pressure from a sprinkler head can indicate a leak, as can soggy wet patches in your yard. Repair a leak is another fairly easy DIY repair. Carefully dig out the irrigation pipe - you should use a trowel to make sure you don't accidentally cut the lines with your shovel. Dig out and clear at least 12" of pipe to either side of the leak. Cut out the section of damaged pipe and repair - here are detailed instructions for repairing poly pipe and PVC pipe >>
Optimal Coverage
Check the spray coverage area of each sprinkler head. The spray should reach to each adjacent sprinkler head. This is known as head-to-head coverage and is necessary to ensure full, even coverage of your lawn. If your sprinklers do not overlap their coverage, you may need to double up on the time settings so they run twice as long or consider moving or adding additional lines.
Valves
Valves can get stuck in the open or closed position. They're easy to fix by hand, no tools required. Here are step by step instructions for repairing a stuck sprinkler valve >>>
To save water and money consider installing a rain sensor.
Rain sensors are designed to shut off sprinkler systems when rainfall reaches a preset amount, usually 1/4 inch. Once the moisture level subsides, the sensor re-enables the sprinkler system, resuming the previous watering schedule. Rain sensors should be mounted in an unobstructed area exposed to open sky - minimizing the potential for fallen leaves or other debris from blocking the sensor. You may need assistance to connect the rain sensor to your sprinkler system's control panel.
For Fun!
Friend Jokes
Q: What did the pecan say to the walnut?
A: We’re friends because we’re both nuts
Q: What’s the difference between a friend and a best friend?
A: One will help you move and the other will help you move a body.
Q: What’s better than a good friend?
A: A good friend with chocolate
Q: How did the two oceans become friends?
A: They kept waving at each other
Q: Why should you keep your best friends forever?
A: They know too much